| Tomb Raider III levels |
|
Lara's Home (optional) |
Coastal Village is the first level of the South Pacific in Tomb Raider III. In it, Lara begins her hunt for the Ora Dagger and discovers a village and a cannibalistic tribe.
Details[]
Outfit[]
Weapons Found[]
Items[]
Allies Encountered[]
Enemies Encountered[]
Locales Visited[]
- Pacific Beach
- Pacific Village
Secrets[]
The Statistics screen states that there are 3 secrets. There are actually 4. Only 3 are needed to access the Bonus Level, however.
- 1x MP5 Clips
- 1x Grenades
- 1x Desert Eagle Clips
- 1x Shotgun Shells and 1x MP5 Clips
Walkthrough[]
Right at the beginning, there are two paths that you can take on this level. While they lead to the same place and there are Secrets to be had in both paths, at one point you can change paths and collect every Secret in the level. There are actually four Secrets in this level, but you need to collect only three of them to access the bonus level. If you manage to obtain all four Secrets, then the statistics screen will say “Secrets Found: 4 of 3”.
You will start the level while swimming into a river with some fishes. Take a right at the intersection to enter a lagoon. Take the Smuggler's Key from the center of the lagoon, and then swim towards the beach.
Secret 1[]
In the water next to the shore, there is a ledge that you can climb into for a Small Medipack. From here, use a running jump with a grab to reach the slope ahead, then shimmy right and pull up into the ledge. Jump to the next ledge, and use another running jump with a grab to reach the last ledge. Your reward is some MP5 Clips. Return to the beach.
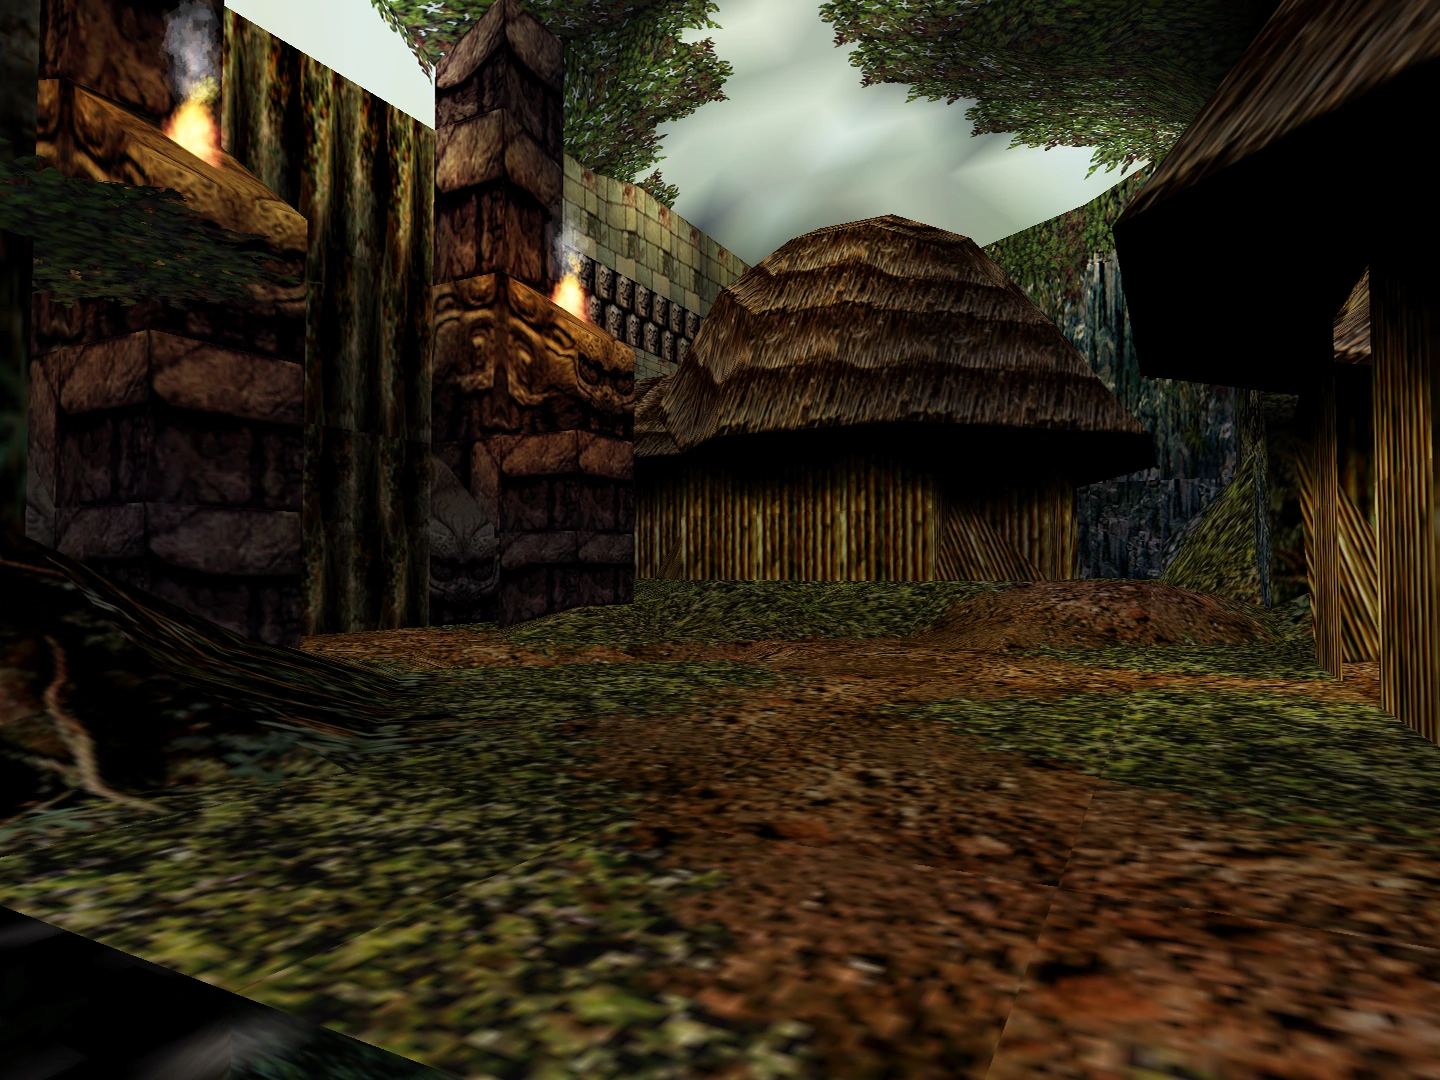
Up on the shoreline, you will face two paths. You can climb up the steps into the hut to enter the caves, or you can go into the slope to the right of the hut to enter the jungle. If you want all four Secrets, you will be doing a combination of both paths, but you must start at the caves, as there is no other way to reach the wooden bridge later.
The Caves[]
Go inside the hut and use the Smuggler’s Key to open the trapdoor. Drop down and pick up the Save Crystal. In the hallway, carefully walk into it to trigger a trap, and then crawl under it. Run forward and you will reach a cave with a pool of water.
There two crocodiles in the water and a Tribesman on the bridge high up above. These new enemies will shoot darts at Lara, which will poison her whenever they hit, forcing you to use a Medipack to counteract the poison. After dealing with them, dive into the water to collect four sets of Harpoons (two beneath the ledge you are, one ahead on the right, and another on the far side of the pool). One of the sets will be the Harpoon Gun if you do not have it already. Return to the ledge where you were and use a running jump to reach the next ledge. Repeat the process for the next ledge, and then climb up on the last ledge. Jump and grab the vines in the ceiling and swing across, dropping down at the very end. Climb up the two blocks to the right, and follow the path to the left. Use a running jump with a grab to reach the opening ahead, and then climb up into it. Pick up some MP5 Clips, climb down the vines as far as possible and jump off. You will return to the ledge you were at. This time, use a running jump to reach the vine-covered ledge on the other side.
Jump and grab the vines in the ceiling. Swing across and drop down at the end. You will reach a stone bridge. Follow it to the end and jump on the slope. Slide down and jump to reach the ledge. From there, shoot the Tribesman on the ledge high up above, and then use a running jump with a grab to reach the ladder on the other side of the spikes. Climb it to the top and take the Large Medipack. Back off the ledge, grab the edge, shimmy left and pull up. On this ledge, take the Small Medipack and the Save Crystal. From here, use a running jump with a grab to reach the ledge below the one you are. On this ledge, back off the ledge, grab the edge, shimmy left and pull up. Use a standing jump with a grab to reach the next ledge. Run to the other end of the corridor and you will arrive on a wooden bridge.
Secret 2[]
Turn right as you arrive at the bridge and use a running jump with a grab to reach the ledge above. From here, use a diagonal standing jump to the next ledge. Jump to the last ledge. Your reward is some Grenades. Return the way you came.
Across the bridge, enter the temple, but back off as soon as you do it; a Warrior will attack Lara from behind as you enter, so deal with him. Go left and crouch to avoid the blades on the left. In the next room, do not step into the light. Instead, go to the corner to the right and press the button to close the window. Use a running jump to reach the other side of the stream. As you go to collect the Save Crystal, you will trigger some poisonous darts. To collect it, crawl over to it. Now, there are three paths that you can take here. Two of them will lead to the jungle, while the third will lead to the village, where the paths converge.
Falling into the Quicksand[]
Use a running jump with a grab to reach the sloped ledges on either side of the room, from where you came from. Now, return to the wooden bridge and jump into the quicksand below, quickly wading to the left to get out of it.
Jumping into the Stream[]
Jump into the stream and a current will take Lara to a waterfall with a flat ledge in the middle, which is a place in the jungle.
Sliding down the Slope[]
Slide down the slope next to the Save Crystal, and you will arrive in the village area. The paths converge here, but you will miss out one Secret.
The Jungle[]
Go to the slope to the far right of the hut and slide down. You will emerge in a cave. Cross the pool and climb up into the grassy area. If you entered the caves and then choose to jump into the quicksand, this is where you will emerge. Shoot the Warrior hiding in the bushes, and then use a running jump with a grab to reach the block in the center of the quicksand. As you do so, you will trigger some poisonous darts. Turn right and use a diagonal running jump with a grab to reach the ledge with a Large Medi-pack. Return to the central block, avoid the darts, jump into the quicksand ahead and quickly climb up to get out of it.
You will emerge in an area with trees, as well as a temple ahead. Shoot the Warrior ahead, and climb up on the green ledges (the temple should be behind Lara as you do so). Climb up on the upper ledge. Turn right and jump to the tree branch. From here, jump to the triangular green ledge. Stand at its end and use a diagonal standing jump with a grab to reach the ledge with some Shotgun Shells. Return to the upper ledge from before and jump to the other tree branch. At the end, use a running jump with a grab to reach the last tree branch. Here, you will find the first Serpent Stone.
Secret 3[]
Directly behind the Serpent Stone is a small opening hidden by the foliage. Climb up to it. Your reward is some Desert Eagle Clips.
Take a running jump to the face of the temple, aiming for the green ledge just above a torch. From here, you can safely drop down. Drop down on the ledges to the right of the temple for a Save Crystal. Follow the ledges to the end to find a flat ledge between two waterfalls. If you entered the caves and then choose to jump into the stream, this is where you will emerge. If so, you have to trace your steps to the first Serpent Stone. Regardless, jump into the opening behind the waterfalls to claim the second Serpent Stone. From either opening, take a few steps back and use a standing jump with no grab to return to the flat ledge.
From here, use a running jump with a grab to reach the ladder ahead, climb up and dismount on the right. Follow the corridor to another ladder to climb. Climb up on the sloped ledge for a Small Medipack. Head to the left corner, climb the block and shoot the Warrior on the ledge. At this ledge, use a running jump with a grab to reach the next ledge. Turn around and use a running jump to the gray ledge ahead. Jump to the ledge with the torch to find the third and last Serpent Stone. Return to the ledge where the Warrior was and use the three Serpent Stones to open the gates. Slide down the slope at the end.
The Paths Converge[]
You will arrive in the village area. If you came in from the jungle, then a Warrior will attack from the left as you enter the area. Follow the path where he came from to find a Small Medipack and then slide down to the lower area. If you entered the caves and then choose to slide down the slope, this is where you will emerge. Another Warrior will emerge from the hut ahead. Inside the hut is a Rocket. Go to the slope (from where you came from if you entered the caves and choose to slide it down), and climb up on the ledges to the right of it to find some Grenades. Go to the area near the waterfall, wary of another Warrior, and enter the hut with a campfire inside it to find a Small Medipack. Take it and go back outside to find a Save Crystal near the other hut. Inside this hut is a Large Medipack, but the entire floor around it is actually quicksand, so do not even attempt to get it. To the left of the waterfall is a narrow path. Go to it and shoot the Tribesman.
Follow the path to a quicksand swamp with a Warrior lurking around a tree with a house high up above. Climb up on the stone ledge and shoot the Tribesman. Jump to the ledge with a wheel and turn it. This will raise a trapdoor back in the village area. Jump back over the tree, shoot the Warrior, and return to the village area, wary of another Warrior. Go around the hut with the quicksand and climb up the ledge above the trapdoor for some Shotgun Shells. Move across the trapdoor to reach the next village area.
Two Warriors will attack when you go through the path between the two lower huts. Enter the left hut for some flares.
Secret 4[]
Hug the right wall and follow it to a dark cave. Another Warrior will attack from behind when you enter. Your rewards are some Shotgun Shells and some MP5 Clips.
Climb up the upper ledge and go down the corridor to your right. Round the corner, shoot the Tribesman that appears, and move on. Enter the hut with a wheel and turn it. It opens a door in another hut, but also summons another Warrior. Go back to the ground level and climb up the ladder. At the top, the window will automatically open. Climb into the window and use a diagonal running jump to reach the ledge to the left.
In the hallway, turn right, shoot the Warrior, go to the end, and jump to the roof of the huts. Move forward and jump the gap. Take the Harpoons from the dark area to the left. Swing across the vines on the ceiling and follow them to another hut. Go inside, press the button and quickly shoot the Warrior that appears.
Return to the hallway, get as close to the burners as you can, tap backwards twice and use a running jump to reach the ledge ahead. Use another running jump from here to clear the burners. Move ahead and press the button. Shoot the Warrior and go into the hallway from where he came. Do not press the button on the hallway to the left, as it will activate the burners beneath Lara’s feet and kill her.
Wait for the blades to disappear and sprint past them. At the end, turn the wheel to open the door, and slide down the slope. You will emerge back in the first village area. Dive into the pool and swim down the trapdoor. Swim through the tunnel, avoid the crocodile, and climb out at the end. Cross the bridge, enter the next corridor and follow it to the end. You will emerge in the area with the quicksand swamp, but high up above. Use a running jump with a grab to reach the tree house, and then climb up to it to finish the level.
Cutscene[]
Lara meets an Australian soldier inside the tree house, who was attacked while sleeping and had to amputate his right leg. He states that their plane crashed into the jungle nearby and that something spooky is in there, hunting his friends. He also states that some of his friends were captured by the tribe in order to serve as sacrifices for the village chief, who lives in the hills of the island. After talking a bit more about the tribe, he gives to Lara a map, which shows how to cross the quicksand below. After telling Lara that he prefers to be sacrificed other than be saved, he goes to sleep, but not before ordering her to help any of his friends she may find in the jungle and bring them to the northern shoreline.